How to index your Squarespace site with Google Search Console
This blog post will provide a detailed walkthrough of:
setting up a new Google Search Console account,
submitting your site map for Google indexing,
connecting your Google Search Console account to Squarespace Analytics
The precursor to setting up Squarespace Analytics is setting up a Google Console account, so that is where we shall start. an overview of Squarespace Analytics in comparison to Google Analytics.
Squarespace Analytics v Google Analytics
Alrighty, so Google Analytics is a BEAST. It’s not user-friendly and can overwhelm many. Having said that, if you want to run ads of any sort, then you want Google Analytics to understand your audience’s demographics and interests. Squarespace analytics cannot do this.
However, Squarespace Analytics does offer a lot of useful information within your Squarespace dashboard and it is nicely set out, which makes it the most straightforward from the get-go.
Step 1: Set up a Domain property.
You want to use a Domain property so that all site address versions across all device types are included.
Enter your domain and press “Continue.”
Step 2: Verify ownership of your domain via DNS.
If you bought your domain through Squarespace, this will be straightforward, just follow the prompts.
If you use a third-party registry, you will need to log in to your account with the registry and set up a new DNS zone record. The TXT record details will be provided by Google Console. If you are unsure how to do this, just reach out to the customer support of your registry and they will most likely do it for you.
For Webcentral users, keep the name field blank, and paste the long string of numbers provided by Google. They must be enclosed in quotation marks.
Once you have created the TXT record, go back to Google Console and press “Continue”
Step 3: Select “Property” and then “Start” to continue.
Step 4: Add your site map
Squarespace automatically creates a file with your website’s site map. Go to a new window tab in your browser and type in your website address. Copy the full address - including the “https://”
Back in Google Search Console, click “Sitemaps” on the left hand menu and then choose “Add a new sitemap”.
Paste (Ctrl/Cmd + V) your site address into the “Enter sitemap url field” and add the text “sitemap.xml” on the end of the url.
Press “Submit”
It can take a few days for Google to index your site, so in the meantime, ignore the status “couldn’t fetch.” This is normal.
Step 5: Connect Squarespace Analytics and Google Search Console
This last step will enable you to view the keywords visitors search to find your website, all within your Squarespace dashboard.
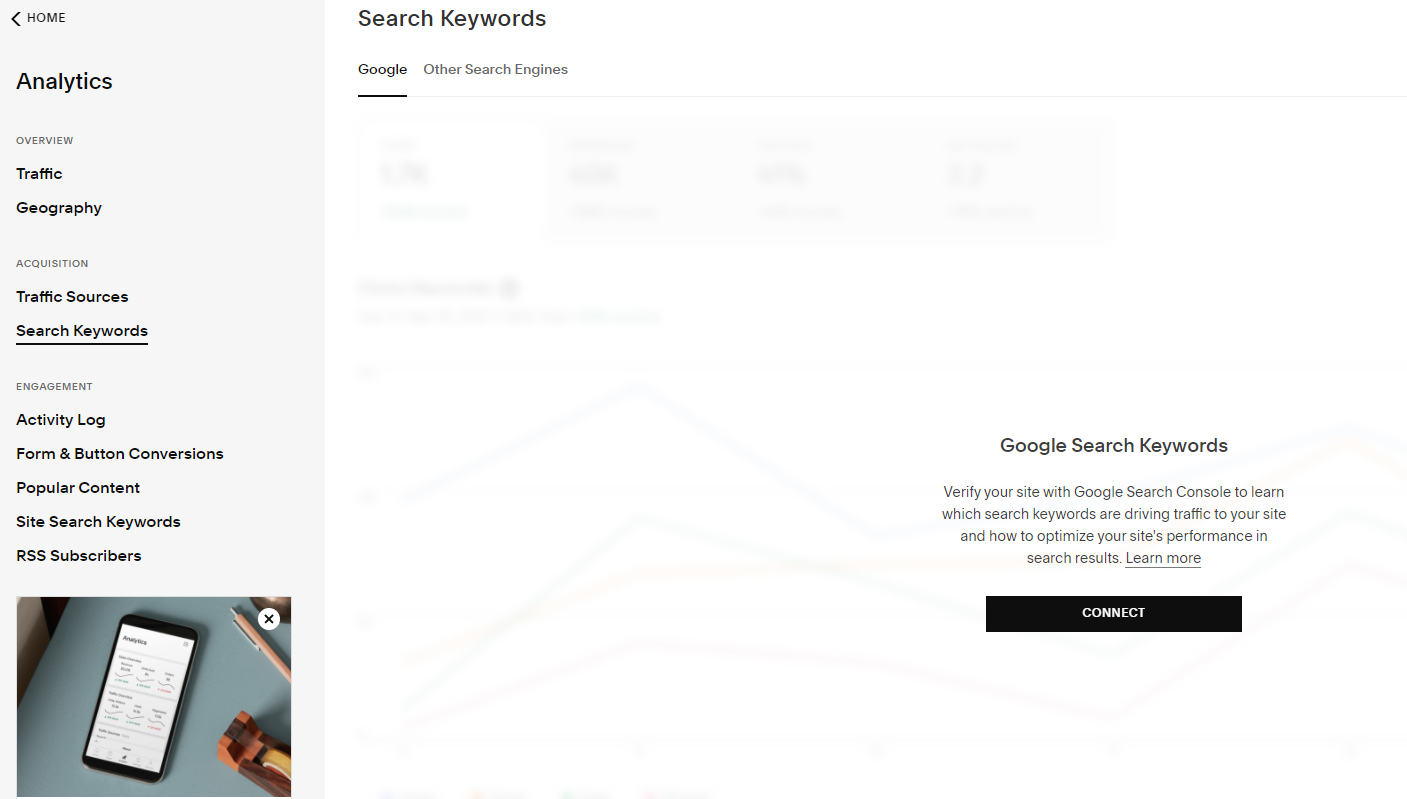
Analytics > Search Keywords > click “Connect”
Step 6 : Authorise Squarespace Analytics
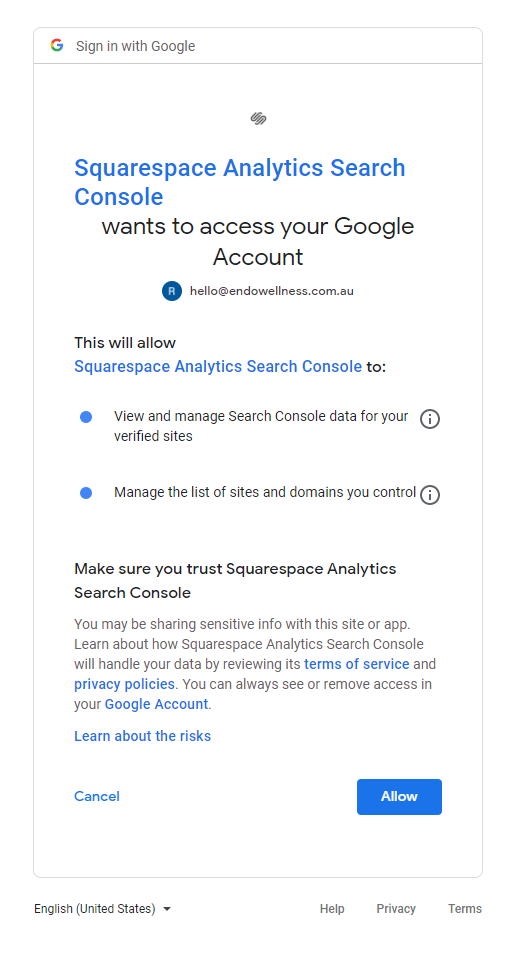
Of course you want to give Squarespace access to your Google Account. That’s the whole point of this, right?! Click “Allow.”
Woot Woot! You did it. 🙌
FYI, make sure you have the Squarespace mobile app on your phone. It will notify you when your site traffic spikes. As expected, it also shows all the usual analytics at a glance.


